The easiest way to elevate an
object in Revit for Construction Documents is to use a legend view and the
Legend Component tool. Unfortunately, unlike the frames and door panel
families, walls and specifically Curtain Walls are System Families and can be
any configuration.
 With that being said
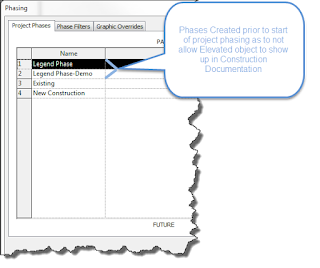
we have to do a bit of a work-around. In the Standard Neumann Monson Revit
template a Phase has been created previous to when existing work would be
modelled. (Legend Phase) We then demolish these objects that are only placed to
elevate and annotate in a centralized location. (Legend Phase-Demolish)
To start elevating individual Storefronts they first need to
be grouped, and then the individual wall needs to be associated with the
correct Type Mark value. (We will be creating duplicate Type Marks, which Revit
doesn’t like but is ok in this instance)
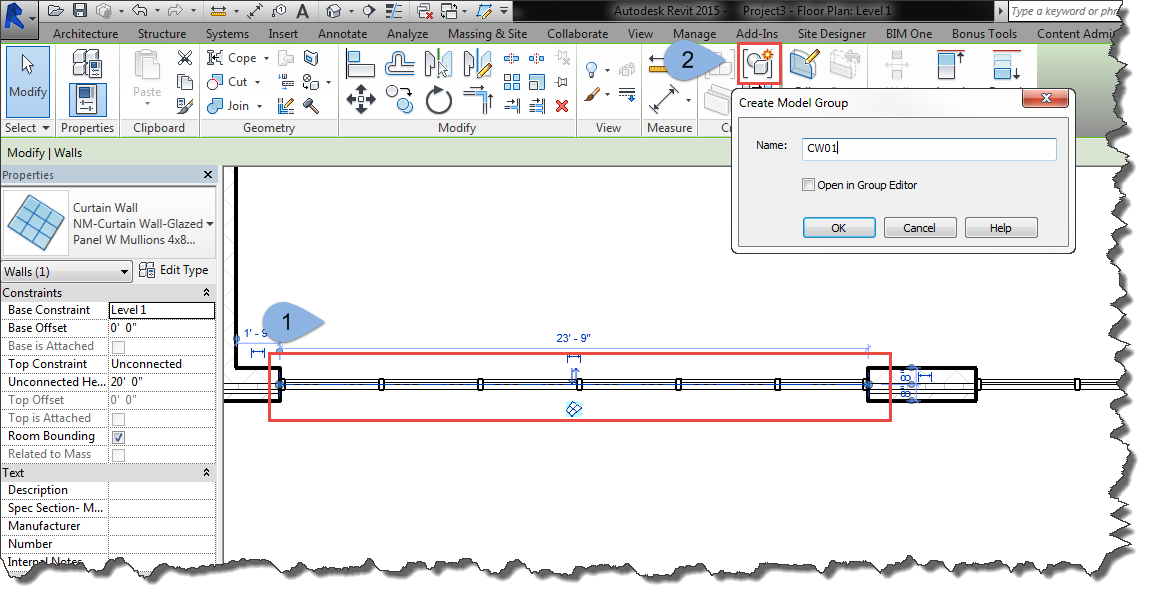
1.)
Select the Curtain Wall/Storefront
2.)
Click the Group tool and name the group
something like CW01, CW02………, CW12, etc.
 3.)
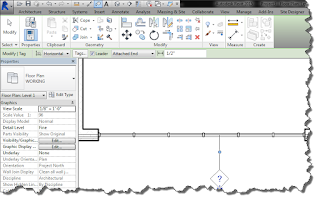
Load the correct Wall Tag into the project. If
not preloaded go to the Family Browser and Under Annotation, find the “NM
Curtain Wall tag” and drag it into the project.
4.)
Select the Curtain Wall to tag it. Double Click
in the tag and give it a Type Mark parallel to the Group name, i.e.
CW01----W01, CW08----W08, CW12---W12, etc.


5.)
All Curtain walls can
be done in this fashion. Once completed navigate to the Level 1-Legend Phase
View.
6.)
Drag a Model Group from the Project Browser into
the SW corner of the view, and repeat this placing a copy of each group into
the view.
7.)
Tab to select each wall, (not the group) and
give it the same Type Mark and change the Demolish Phase to Legend
Phase-Demolish. (When changing the Type Mark a dismissible error will pop-up
explaining that there are duplicate Type Marks. It can be ignored.


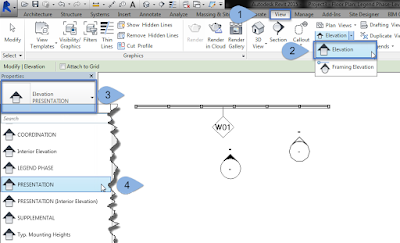
 8.)
Create a Legend
Phase Elevation looking at the Curtain Walls in plan. This view can then be
placed on sheets and detailed appropriately. Multiple elevation views may need
to be created due to a views length on a sheet.
